Introduction
Imagine needing to transfer large media files between your iPhone and Windows PC, but you don't want to use iTunes or pay for iCloud storage. It can be frustrating, especially when you need to quickly share photos, videos, or music for school projects, work presentations, or personal use.
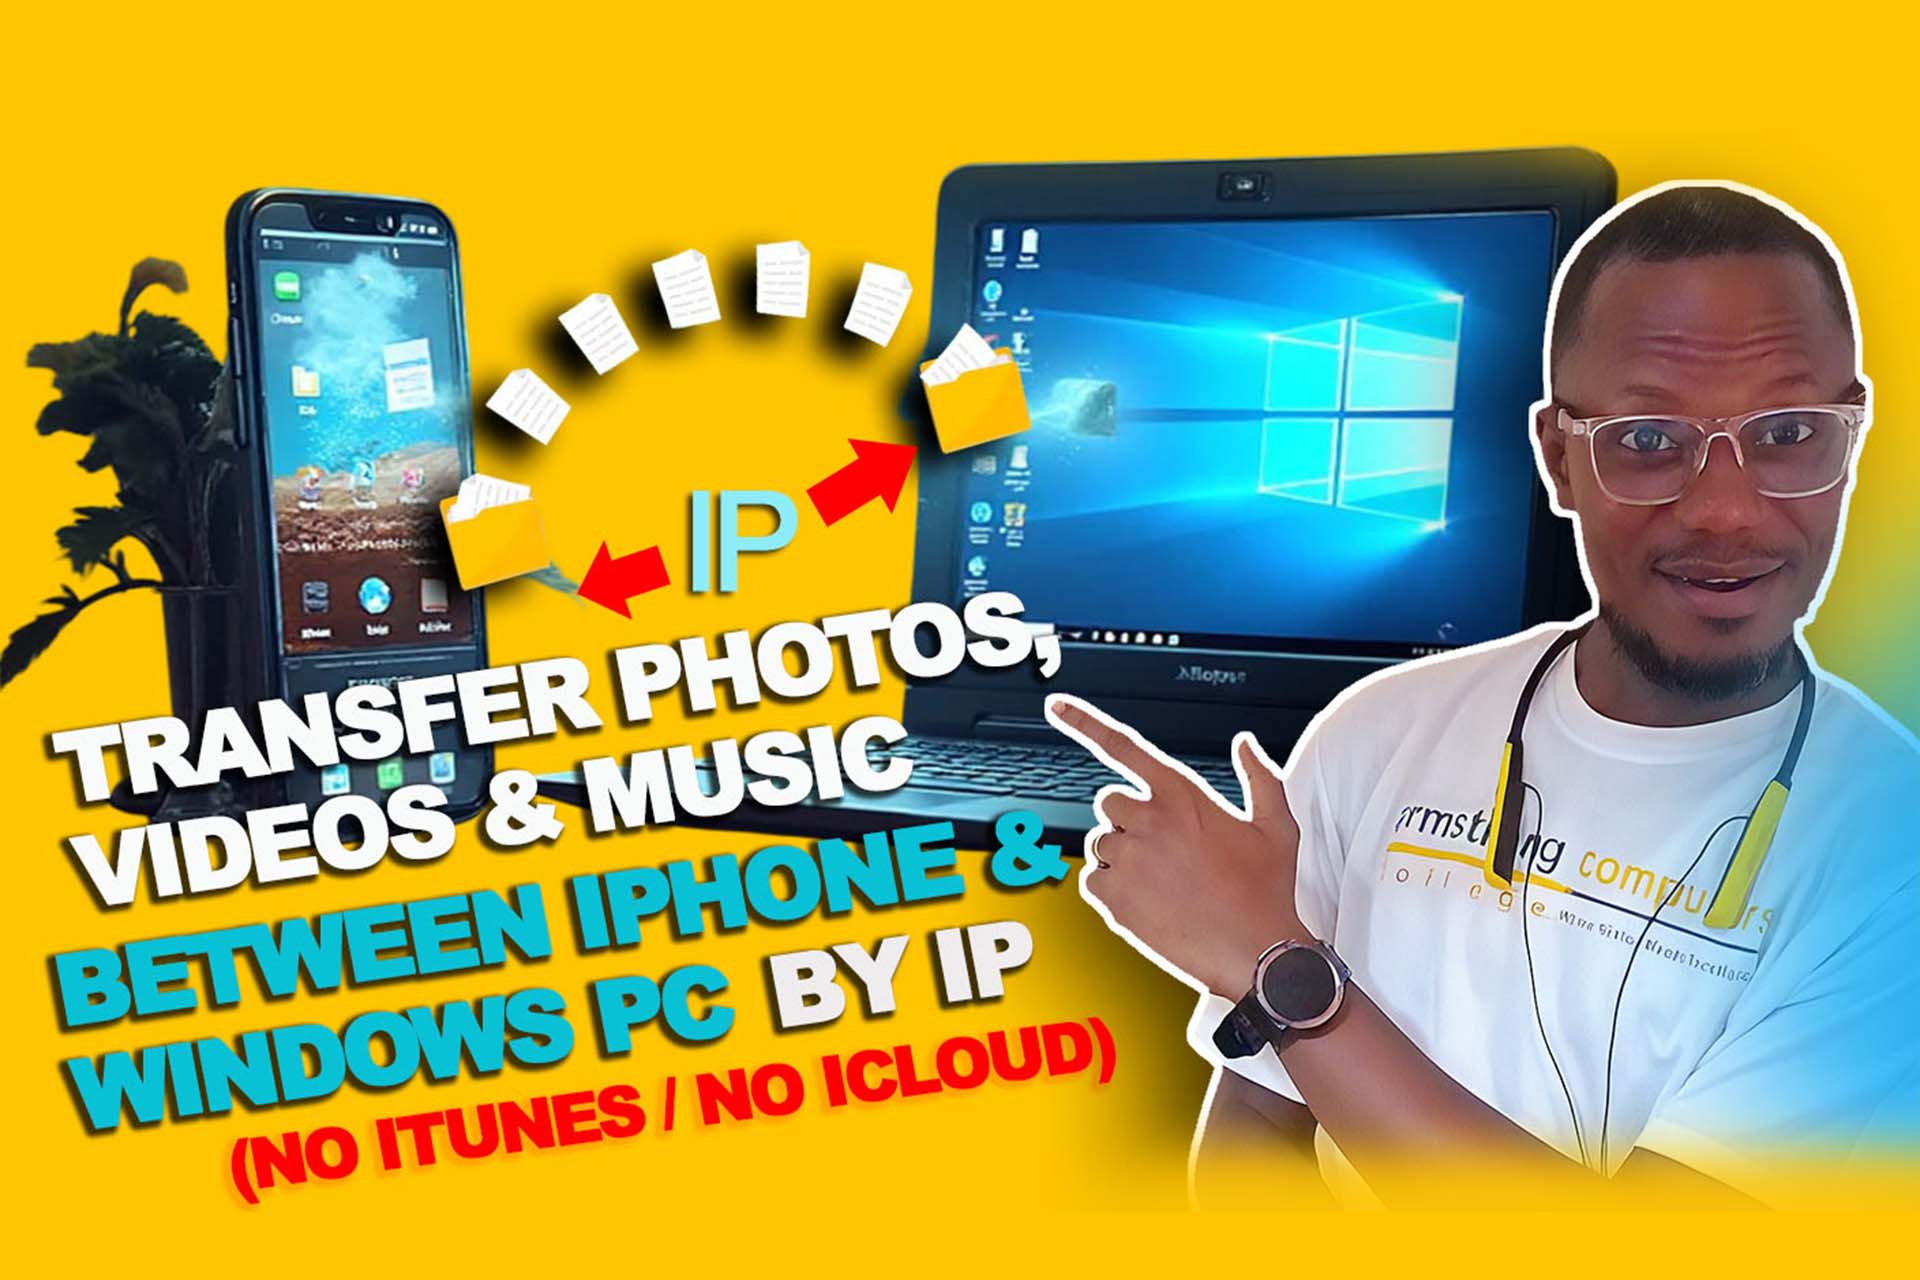
In this guide, I, Prince Armstrong of Armstrong Computers College, will walk you through a practical and effective method for transferring files between your iPhone and Windows PC using SMB file sharing over your local Wi-Fi network. This tutorial is based on a real-life video lesson we've shared on our YouTube channel.
We will use a step-by-step approach that is easy to follow and doesn't require any special software on your PC. All you'll need is a basic understanding of Windows file sharing and an iPhone app that supports SMB connections.
Why Is This Method Useful?
- No Cloud Storage Limits: Transfer files directly without uploading to cloud services.
- Fast Local Transfer: Utilize your local network for faster file transfers.
- Educational Value: Learn about network protocols and file sharing principles.
- Cost-Effective: No need for additional software or subscription services.
Table of Contents
What You'll Need
- A Windows PC (Windows 10/11 recommended) with administrator access
- An iPhone connected to the same Wi-Fi network as the PC
- An iOS app that supports SMB (recommended: FE File Explorer, Documents by Readdle)
- Basic familiarity with Command Prompt and Windows sharing
Step-by-Step Guide
Step 1: Create a Temporary Windows User
Open Command Prompt as an administrator and run the following command to create a temporary transfer user:
net user "TRANSFERUSER" "StrongP@ssw0rd!" /add
Step 2: Create and Share a Folder
Create a folder on your PC where iPhone files will be placed (example path: C:\Share\iPhoneTransfer).
Right-click the folder → Properties → Sharing → Advanced Sharing… → check Share this folder, set the share name (e.g., iPhoneShare), then click Permissions to add the temporary user.
Step 3: Set NTFS Permissions
Open the Security tab in folder properties → Edit → Add → enter the username (TRANSFERUSER) and grant Modify and Read & execute permissions.
Step 4: Allow File & Printer Sharing Through Firewall
Open Windows Defender Firewall → Allow an app or feature through Windows Defender Firewall → enable File and Printer Sharing for Private networks.
Step 5: Find Your PC IPv4 Address
Open Command Prompt and run:
ipconfig | find "IPv4"
Note the IPv4 address (for example 192.168.1.100)—that's the host you will connect to from your iPhone.
Step 6: Install and Configure FE File Explorer on iPhone
Install FE File Explorer from the App Store. Open it, tap the + to add a server, select Windows (SMB), and fill in the details:
- Server/Host: your Windows PC IPv4 address
- Username:
TRANSFERUSER - Password: the password you set
- Share:
iPhoneShare(if required)
Step 7: Transfer Files
iPhone → PC: In FE File Explorer, use Upload or Import from Photos to copy photos/videos to the SMB share.
PC → iPhone: Copy files into C:\Share\iPhoneTransfer on your PC. On your iPhone app, browse the share and download files.
Step 8: Cleanup — Delete the Temporary User
After transfers finish, delete the temporary user account to restore normal security:
net user "TRANSFERUSER" /delete
Video Tutorial: Watch the Full Guide
Watch this video for a complete walkthrough with visuals.
Troubleshooting
- Make sure both devices are on the same Wi-Fi network and subnet
- If connection fails, re-run
ipconfig | find "IPv4"to ensure IP hasn't changed - Verify firewall rules and that SMB ports are allowed for the Private network
- Ensure the iPhone SMB client supports SMBv2/3 (SMBv1 is deprecated and insecure)
- Check NTFS and share permissions
Security Best Practices
- Prefer WebDAV over HTTPS or SFTP if you need encrypted transfers
- For sensitive data, consider using an encrypted VPN between devices
Lab Exercise (For Classroom)
- Create
TRANSFERUSERvia Command Prompt and confirm existence - Create and share the folder
C:\Share\iPhoneTransferand set permissions - Find and note the PC IPv4 address using
ipconfig | find "IPv4" - Connect from FE File Explorer on an iPhone, upload 5 photos to the share
- Delete
TRANSFERUSERand confirm the iPhone can no longer access the share
Alternative Methods
- FileZilla Server (FTP) on Windows + iPhone FTP client
- WebDAV over HTTPS — secure and supported by many iOS file apps
- Snapdrop or local web-based transfers for small files
Educational Benefits of This Method
- Understanding Network Protocols: Learn how SMB file sharing works
- Security Awareness: Practice creating and managing user permissions
- Problem-Solving Skills: Troubleshoot network connectivity issues
Words of Caution
- Never use this method to access network resources without proper authorization
- Always use strong, unique passwords for temporary accounts
- Disable sharing when not in use to maintain network security
Final Thoughts
Digital literacy involves more than just using applications. Understanding how different devices communicate on a network and how to securely transfer files between them is an essential skill in today's connected world.
This guide is not about bypassing security, but about empowering users to efficiently transfer their own files between their personal devices while maintaining proper security practices.
